Select a province & language
Entrance to this website assumes you have read and agree to these Legal Terms and Conditions and the Privacy Policy.
Entrance to this website assumes you have read and agree to these Legal Terms and Conditions and the Privacy Policy.
The launch of the Toyota 86 is the next chapter in the history of sports cars going right back to the 1960s.
Though unapologetically modern the 86 is grounded in this rich heritage, being the spiritual successor to the fifth generation of the Toyota Corolla. The cult classic, now better known as the AE86 or Hachi-Roku, was renowned for its drift racing abilities.
To celebrate the launch of the new 86, Toyota Canada enlisted drifter racer and AE86 aficionado Pat Cyr to restore an old Hachi-Roku to pay tribute to the heritage of the new sports car.
There was plenty of work to be done. Far from being on the drift racing circuit, this particular AE86 had spent the better part of the last ten years in a field.
So how did the team restore it?

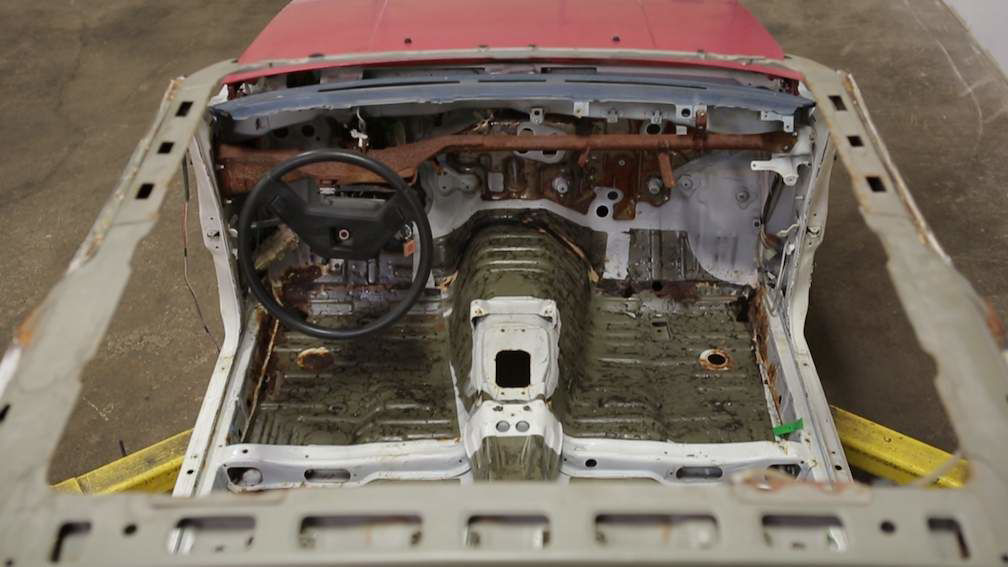
The team started from the bottom. Literally. Pat and the team put the car on a rotisserie to work on the car upside down.
Focussing on the chassis, the team encountered a little more work than they were anticipating, as a result of the rough east coast winters the car had been through.
Thanks to the one-off panels that fitted perfectly, the Project 86 team would have the holes patched up and the chassis ready to paint.

Fortunately, the engine was in much better shape. The team installed a Toyota 4age Blacktop, a twenty valve in-line four-cylinder engine.
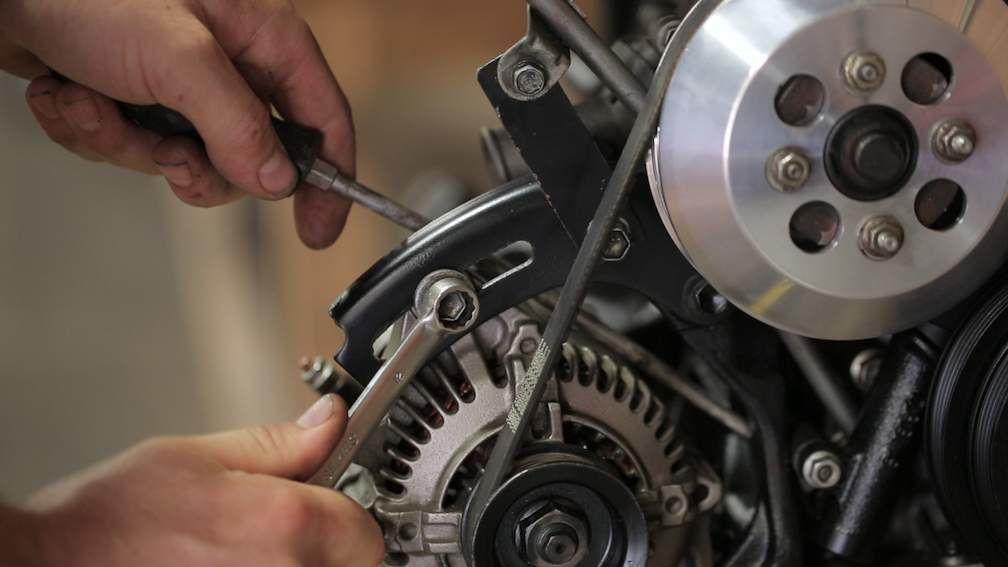
Some of the worn-out engine parts needed replacing, such as the head gasket, oil pump, and timing belt. The rest were detailed to as-new condition.
Then came the task of putting the engine together. No mean feat, given that it needed to done perfectly or risk blowing the engine later on.

With the chassis back with a stellar paint job, it was time to get AE86 ready to ride.
As with restoring any classic car, the parts are hard to come by these days. What made this restoration so special is that some of the parts Pat put into the car were so rare that he had been saving them for years for this type of project.
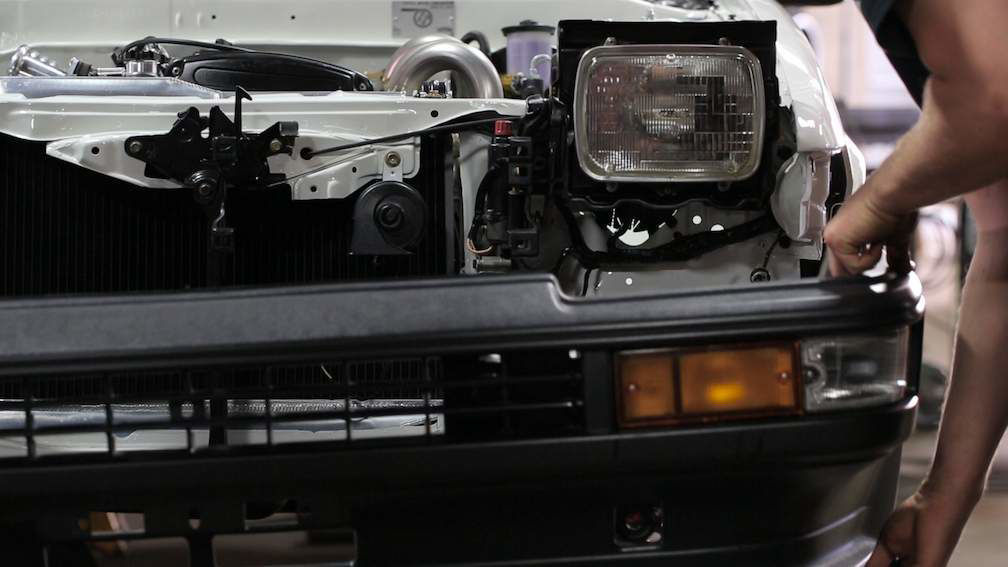
With the engine, windows, lights. and driving controls all in place the car AE86 is almost ready for the road.

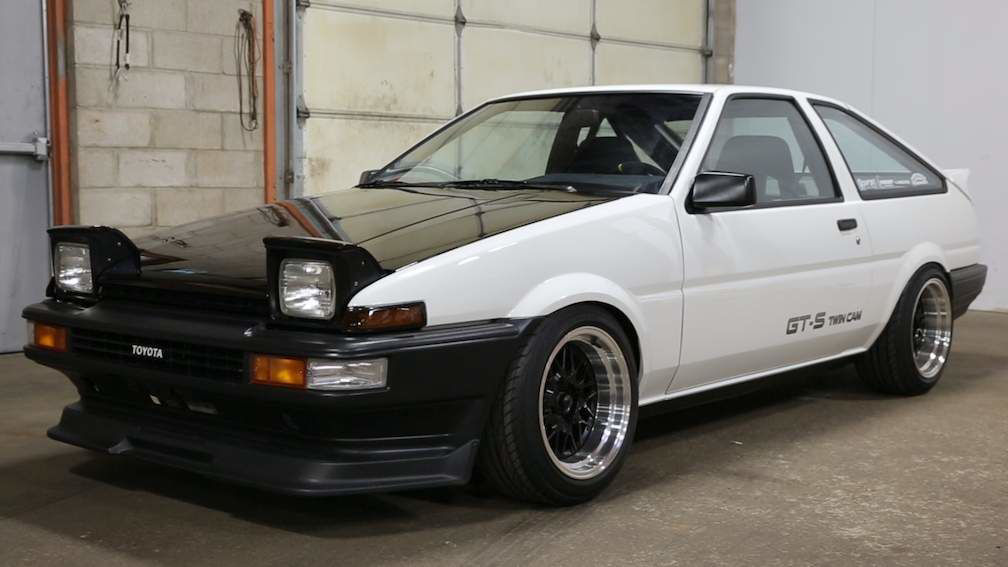
After eighty-six days of heavy going repairs, the refurbished AE86 looks incredible. In less than three months Pat has turned scrap-ready ruin into a track-worthy contender.
Patched up and primed, rebuilt and restored, the whole thing was taken apart and built back up, then tested to its limits on the dyno machine.
The result a machine ready to tear up the track with the best of them. Just like it’s spiritual successor, the Toyota 86.
Check out the webisode series documenting the project on the Toyota Canada YouTube channel.